Monday 22 December 2014

End of topic Potion display (and wands!)

Final post to bring us up to date for the Christmas holidays! We've now finished the half-term and it's been a long and tough one that included an inspection in the last week!

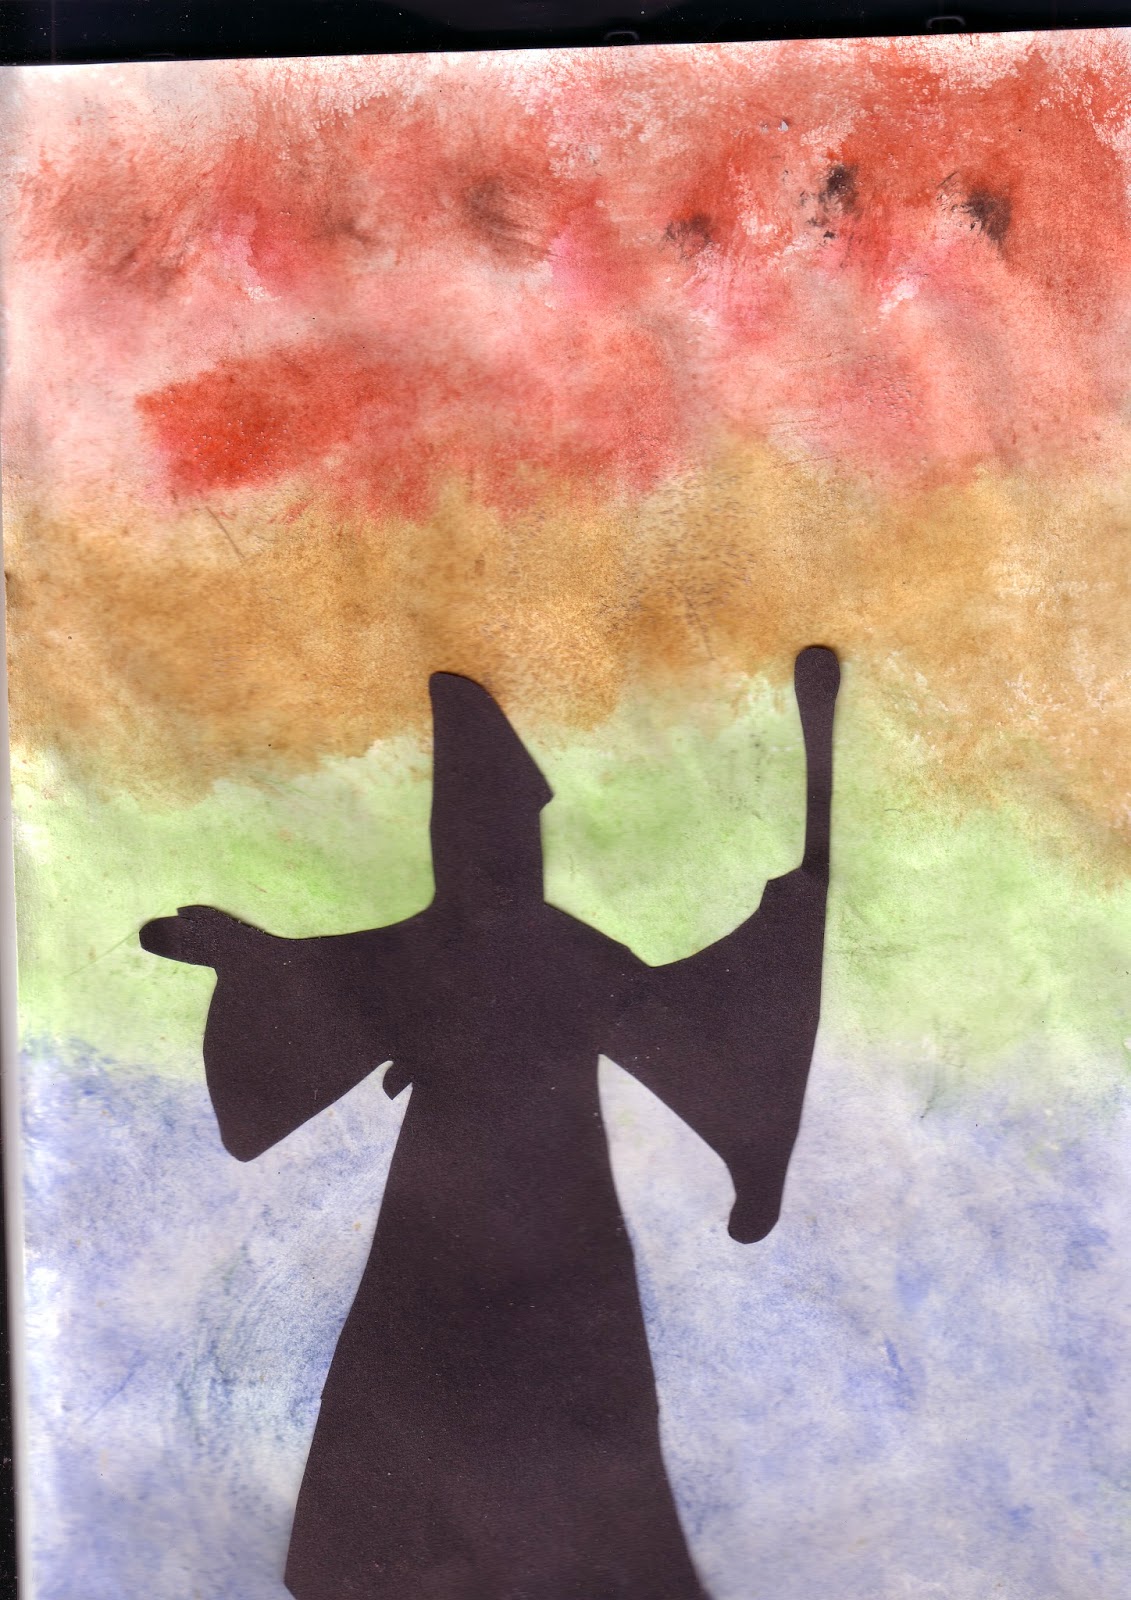
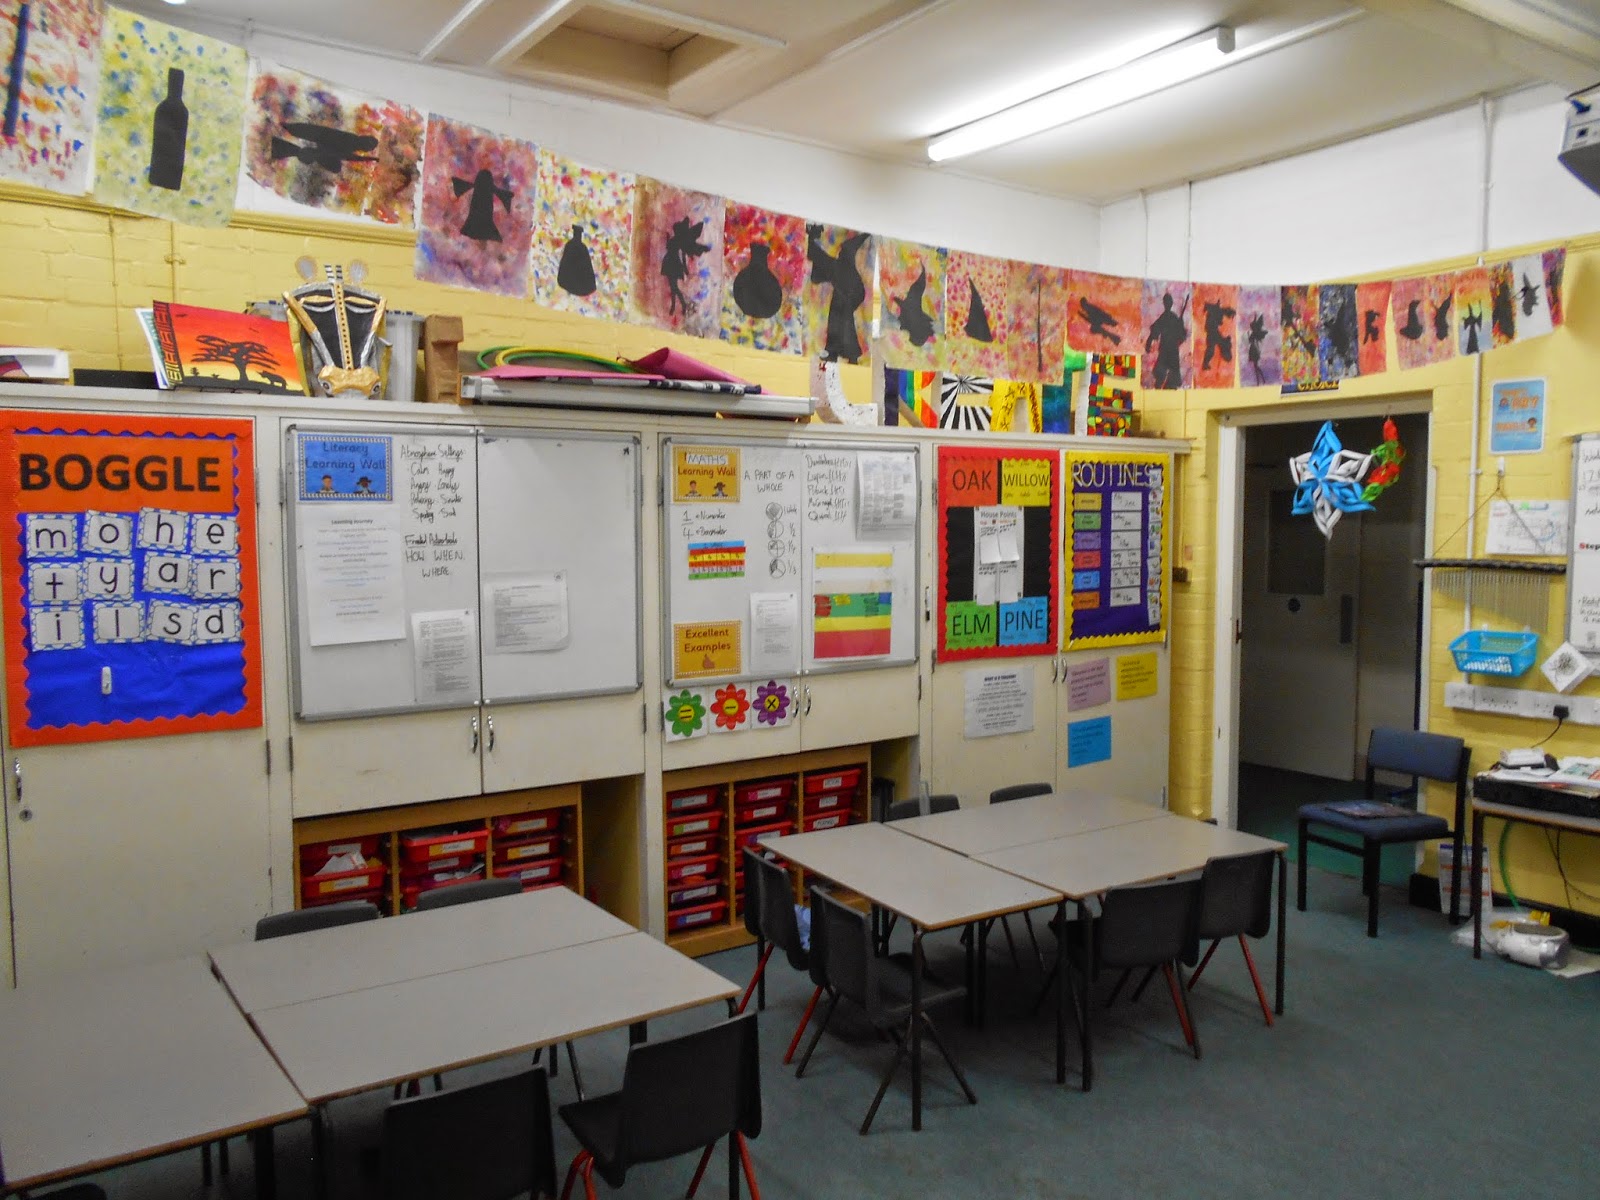
The children loved the creative side to this topic and I just thought I'd share our topic work display board that we've been adding to over the past few weeks. They include some work that I've already shared here (sketches/overlapping bottles) but there are also some wands there, too! We used a basic running stitch, stuffing and felt to make their wands. These accompanied their own potion bottle and magic poem.

Now it's time for a 2 week break with lots of merriment and joy. I hope all staff and students have a lovely period of time off and I can't wait to see everyone again for our next topic (lots more creative opportunities!)

A huge thanks also needs to go to the families who were generous to send in a card or present. I was overwhelmed by the kindness.

Thank you.
DB.

- Just a little extra: We're almost at 1,500 views! That's unbelievable for something that just started out as a little extra to share some work. Thanks for visiting. Please feel free to leave comments


Fantastical Silhouettes

To finish off our Potion topic this half term, we created some beautiful pictures that the children could take home with them. The class was set a homework to bring in an image of a fantastical object/person/creature that they could use as a silhouette. The background was supposed to be created by blowing coloured bubbles onto the paper but unfortunately the solution didn't arrive in time! Luckily, the improvised alternative came out beautifully and perhaps even better than the first idea.

Equipment
-A4 drawing paper
- Black A4 paper
- Fantastical image for silhouette (or just draw your own!)
- Scissors
- Glue
- Watercolours
- Paint
- Salt

1. Wet all of your A4 drawing paper with a brush. Then, choose complementary watercolours and dab the wet paper and watch the colours mix and blend together.

2. Whilst the paper is still wet, sprinkle some salt over the paper. You will see the colours get "sucked in" and make a really cool effect.

3. Cut out (or draw) your silhouette image carefully. Glue it onto the black paper.

4. Cut out the silhouette shape from the black paper.

5. Glue the silhouette onto the background when it is dry.

I was so pleased with these pieces of artwork. During lessons, I often found my eyes looking up at the art as it was so amazing. The photos haven't done them complete justice but give you a good idea.


I am INCREDIBLY pleased with these and they all came out brilliantly. This was probably my favourite project so far this year as every student was successful.

DB.

Friday 19 December 2014

Potion Bottles


Continuing our "Potions" unit, we decided to create our own potion bottles! Children were asked to bring in a glass bottle which preferably took an interesting shape. Some decorations were provided such as pipe cleaners and tissue paper, but many opted to bring in their own additions to help them create their potion for a specific purpose. For example, we had a couple of potions for Christmas so a couple of children brought in tinsel and baubles.

Once the bottles were finished, we added water and food colouring to give them that eerie glow!


A very tricky (and messy!) project but I feel these were a strong attempt.

-DB.