Next academic year I will be moving from Year 3 into Year 4 which has involved moving all of my things upstairs to a new classroom. I saw it as a good opportunity to freshen things up a bit and try some new ideas. Many of the teacher blogs I follow often share their classrooms so I thought I'd join the club. Enjoy the pictures!
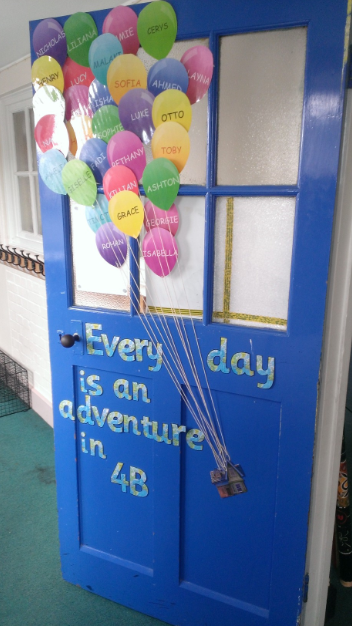
This is the inside of my classroom door. Hopefully it'll inspire the children a bit and they'll look forward to coming in every day. I saw a similar idea
here.
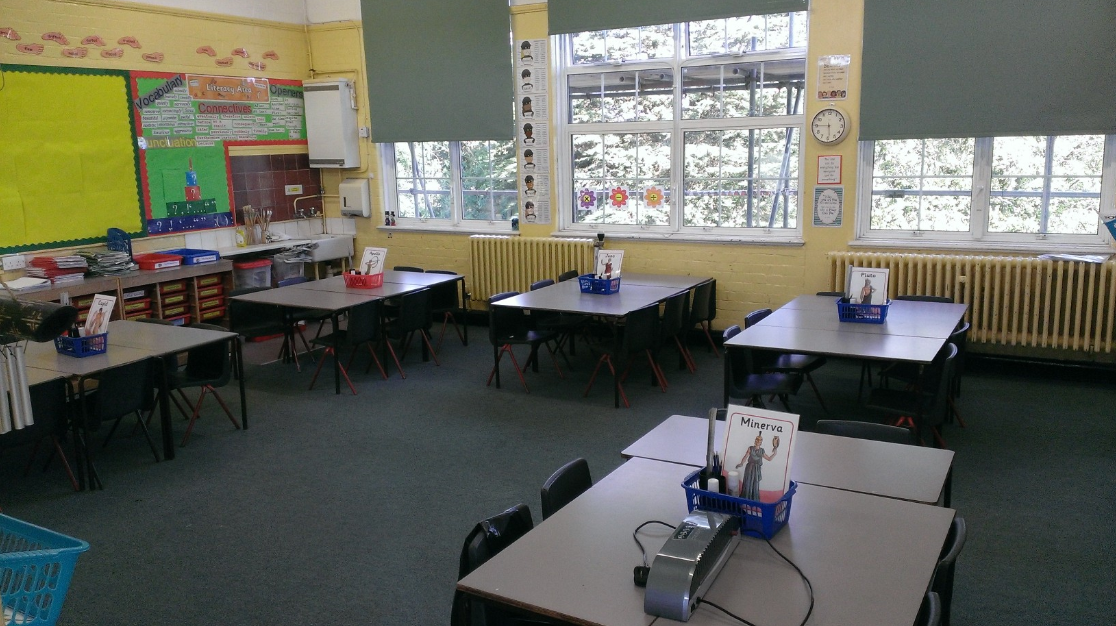
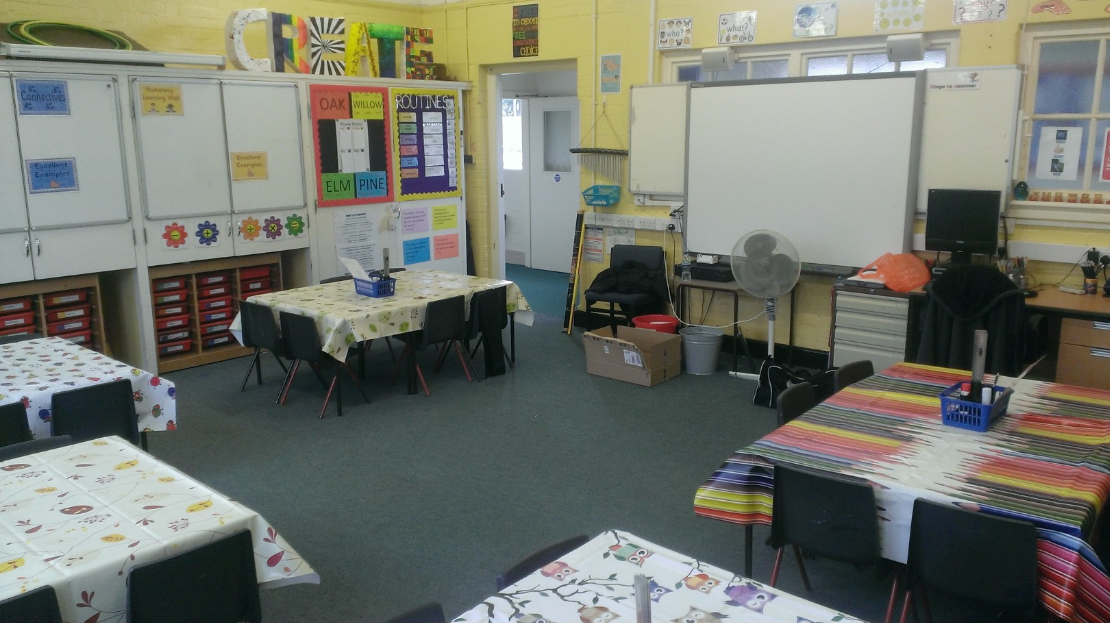
This is the class looking in from the doorway. Our first unit in September will be "I Am Warrior" with a focus on the Romans so the table names are going to be Roman Gods. You can also see some "criminal words" at the back of the class that the children should try to avoid in their writing (such as 'said') and offers better alternatives. The literacy area focuses on VCOP (vocabulary, connectives, openers and punctuation) which will hopefully support their writing.
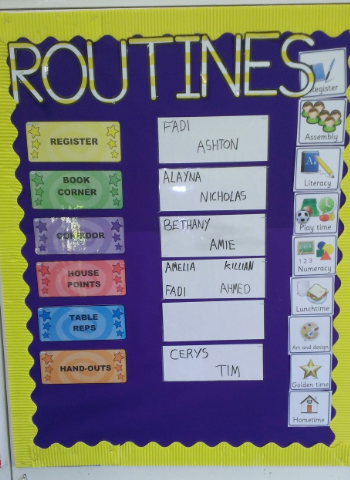
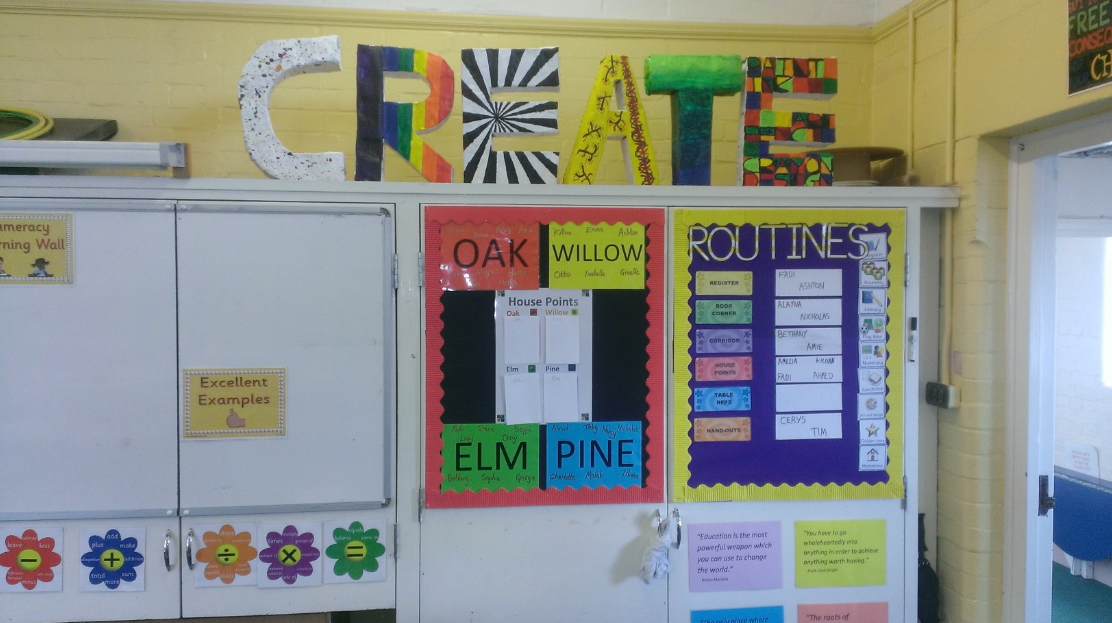
My new routine board has a clear visual timetable on one side and a list of monitors on the other. I'll work my way through each of the jobs in register order for easiness.
We're starting a new house system next year and this board will be used to count house-points. I laminated coloured paper for each house and used a permanent gold marker to write the names of the children in each house.
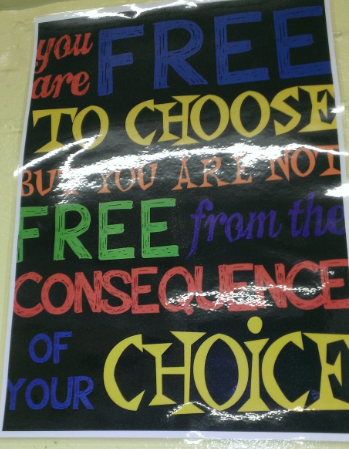
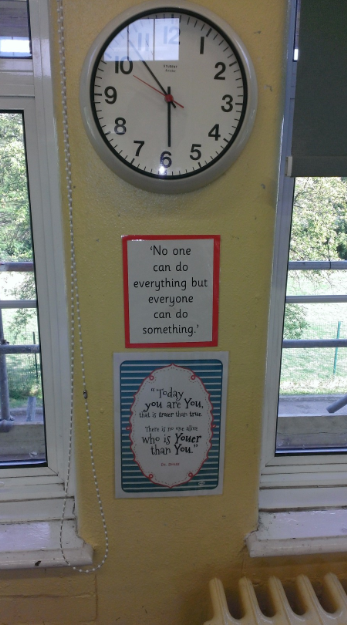
This sign is above the door and I'm sure I'll be referring to it at numerous times throughout the year. It's a very clear message and will support our new behaviour policy.
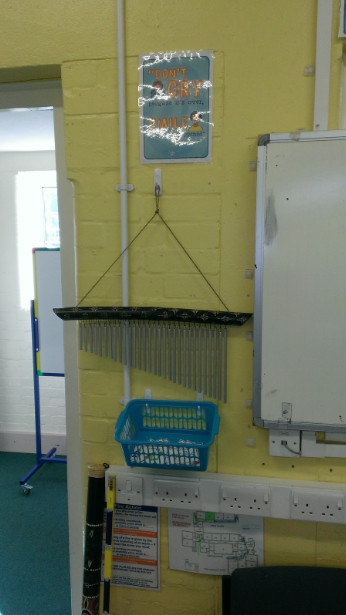
I used some really useful sticky hooks to hang some things in my classroom to provide extra storage. I keep my spare subject squares for my visual timetable in the basket and my chimes are used if the class are being too noisy for my liking.
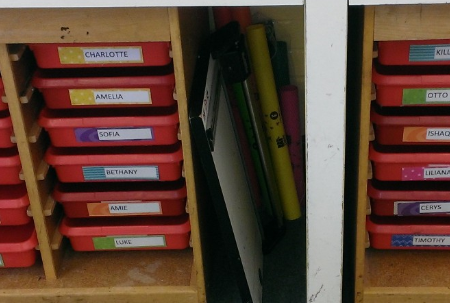
Each child has their own tray like these with their name on. They can keep extra stationery, reading books etc in here. They're responsible for keeping it neat and tidy!
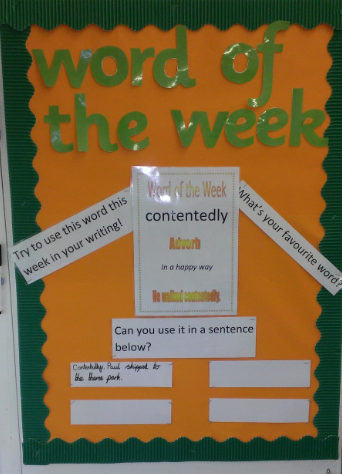
My "Word of the Week" board. I had thought about something like this last year but didn't get the time to make it. I've created about 40 word sheets, all laminated, with a new word/example etc so I'm fully prepared for this year. I've got laminated sections at the bottom of the board where students will be encouraged to have a go at using the word in a sentence. I might even throw in a little reward (like house-points) if a pupil can use the word that week in their writing.

Here's the reading corner. Admittedly, the shelves themselves need a bit of a tidy-up but they're on their way. You may also notice Oscar the bear and his "Oscar's Adventures" book. This book was created by my class last year. Each week, a different child would take Oscar home and record what activities they did and either draw or stick in a picture. It was very popular and I'm going to attempt to do a similar but more grown-up version of the task this year. The mini-easel is going to be used to display artwork that I've been really impressed by.
Boggle Board! I came across this idea
here and thought it would fit my classroom well. The children use the letters displayed to try and make as many words as possible in that week and they record them on the boggle sheets kept in the basket (those handy hooks again!). I'll change the letters each week and hopefully this will become a really engaging, interactive display.
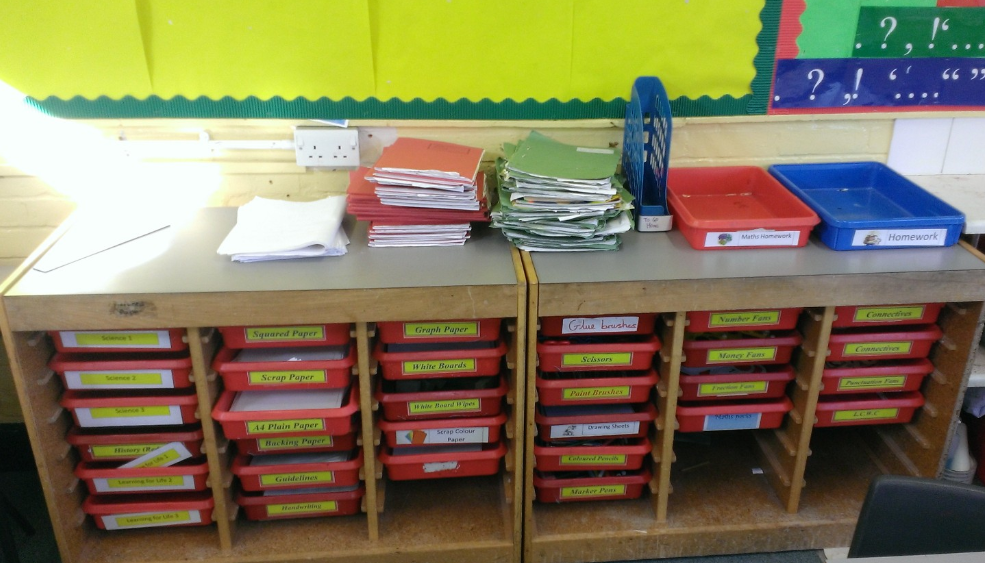
Bit untidy at the moment as I'm still replacing some of the older labels, but I'm lucky that I've got so much storage for these trays for all sorts of things. I've also got space now for all of my homework, maths homework and letters/books that need to be sent home.
I thought I'd create this folder to have a very clear record of times when homework is missing/forgotten. Each child has a sheet with their name on in the folder and they must record the date, title of homework and give a reason for why there homework was not handed in on time. Hopefully this will also encourage the students to understand responsibility. I came across this idea
here.
I've got lots of Dr Seuss quotes stuck around the classroom .
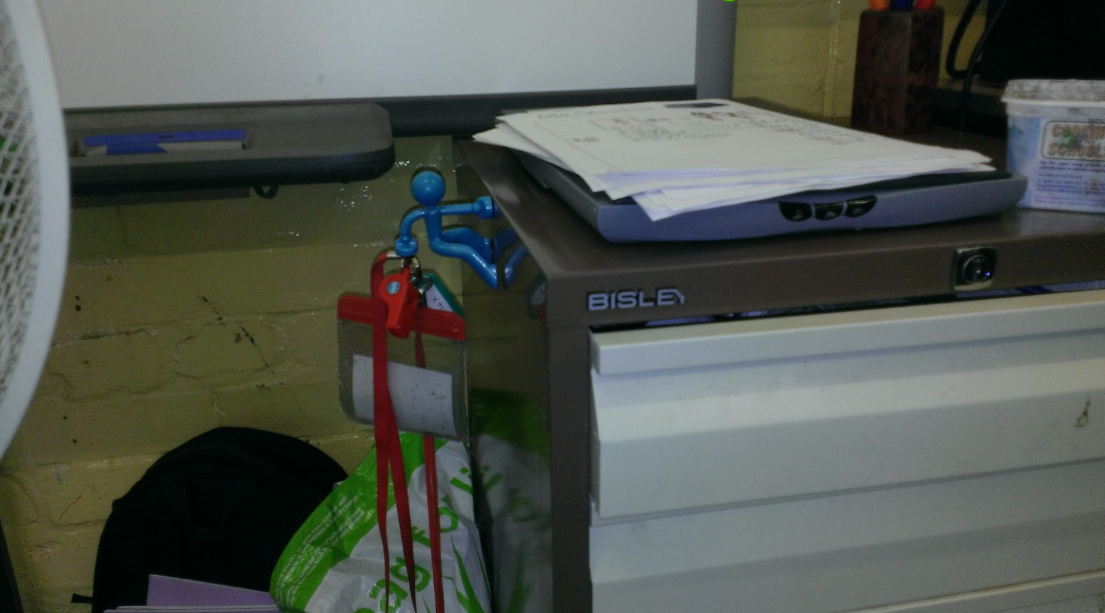
This is my magnetic buddy Keith who hangs around on the filing cabinet. He's going to keep important things like my school teacher I.D., whistle and P.E. key safe and easily obtainable.
Here's a poem I found called "What is a teacher?" that I enjoyed reading. It's quite fun and I thought some of the children might like it. The other side has some of my favourite quotes about education.
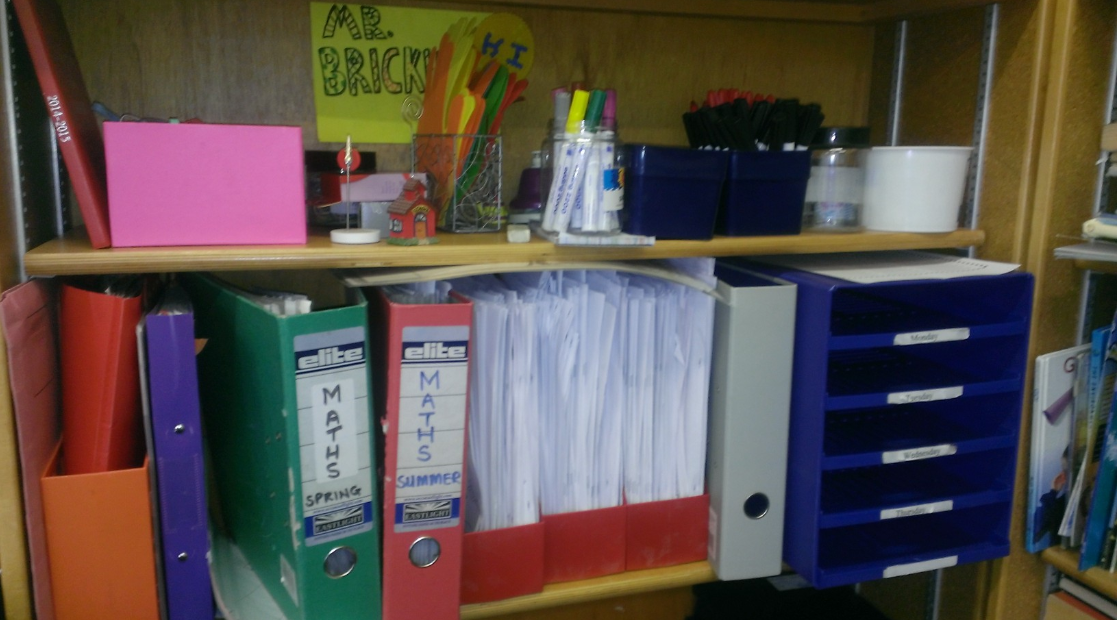
These are my main shelves next to my desk. I've got my plans, key resources and daily trays here to stay organised. The top shelf has other important things like pens, spare glue lids, markers, sharpeners etc. It also has lots of coloured hand cutouts as I will occasionally send home a "High Five" to congratulate a child for a piece of work or improved behaviour.
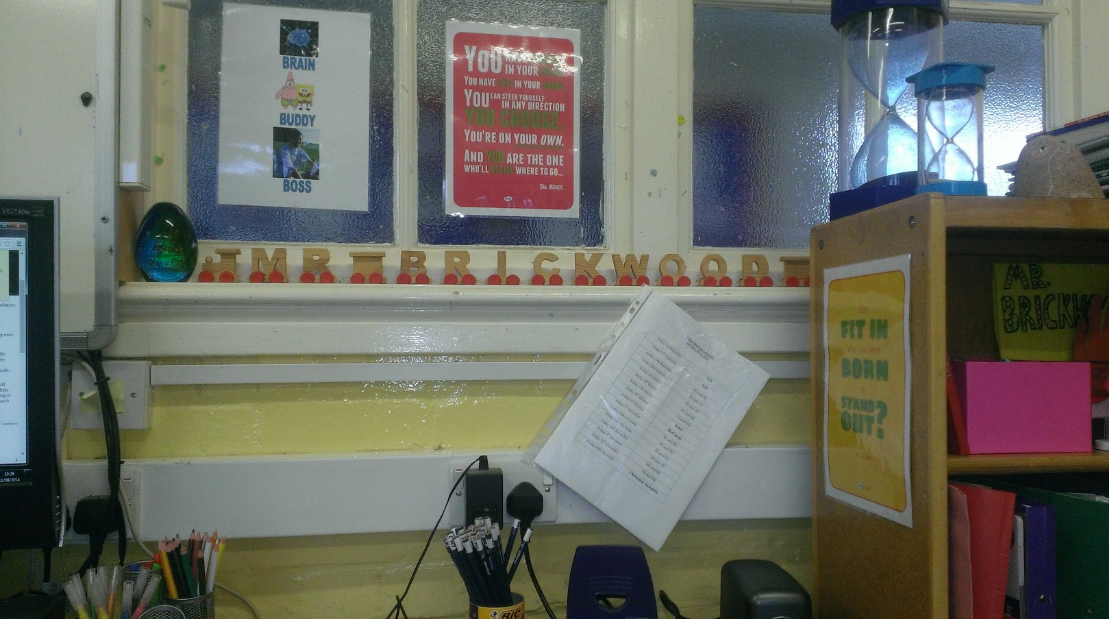
Over to my desk, I've for the Brain, Buddy, Boss system to aid focus. There are also a couple of other Dr Seuss quotes and my Mr Brickwood train some friends got me to wish me luck for my first year of teaching.
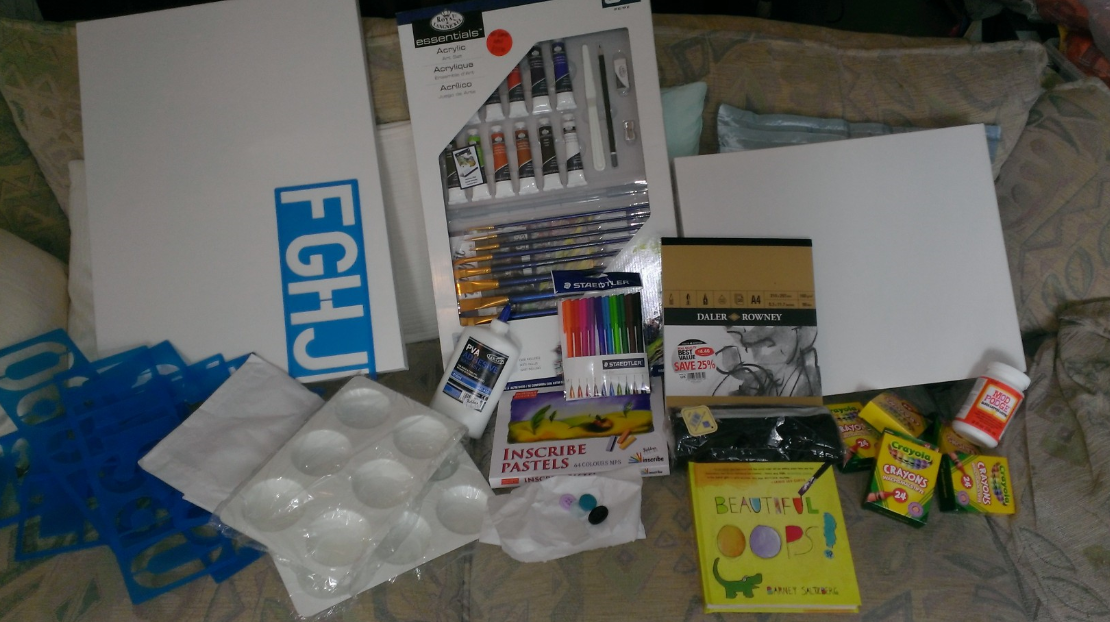
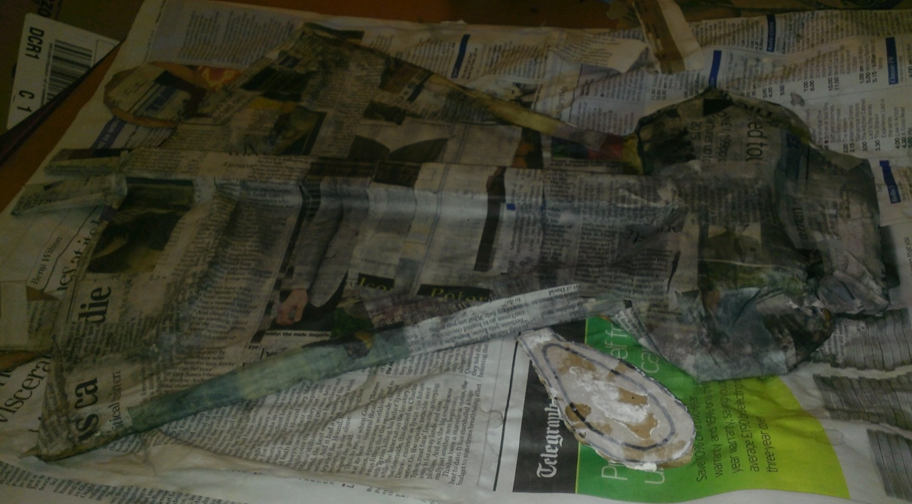
Being the school's new art coordinator and leading the Art Club, there's going to be lots of mess in my classroom. I bought these brilliant table covers online and hopefully they'll last a good amount of time. It saves so much effort and time compared to laying out newspaper that gets destroyed. I went for a bit of a mixture with coloured pencils, cute owls, friendly cows and a couple of floral designs.
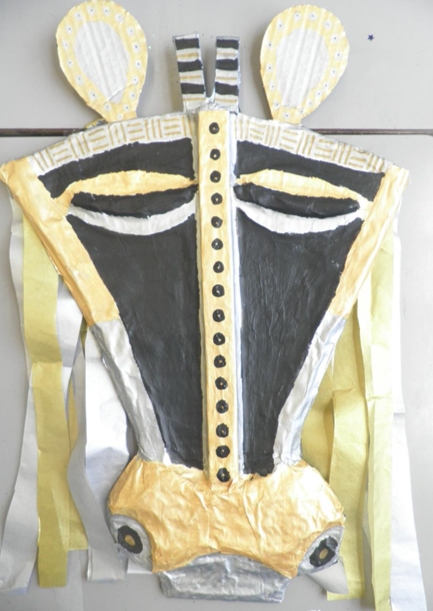
Here you can see my CREATE 3D letters that I feel brighten up the classroom and will hopefully further inspire and motivate the children to create not just in art but with their words, too. I used the same method as used in our
art project.I tried making each letter something different to do with art. The C is inspired by Jackson Pollock's paint spattering, R is the rainbow colours, E has an optical illusion to show perspective and how art can take different forms, A takes some inspiration from Klimt with his swirls on The Tree of Life, T shows tints and gradients and the final E is inspired by Paul Klee. You can also see the whiteboards there that will be used for Literacy and Numeracy working walls.
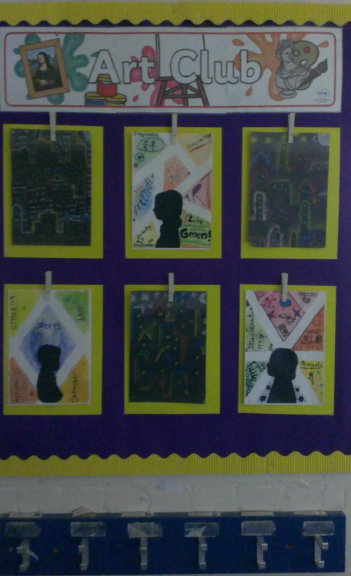
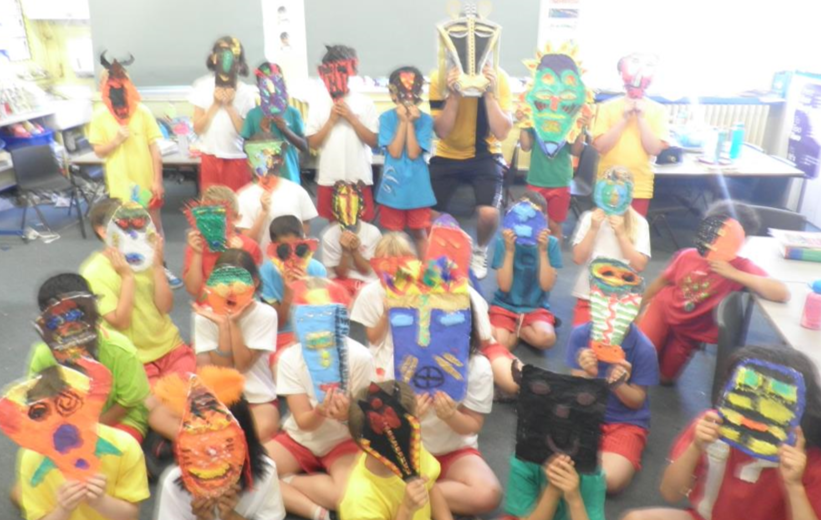
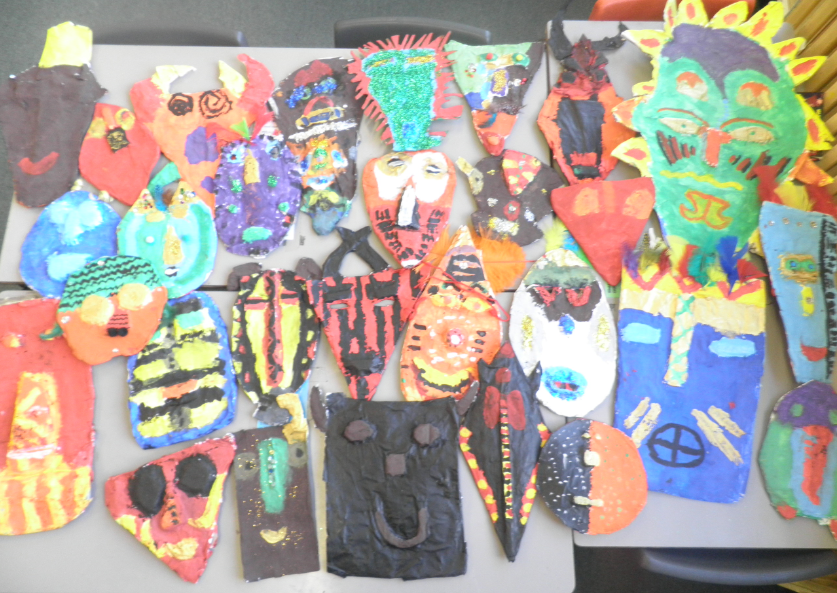
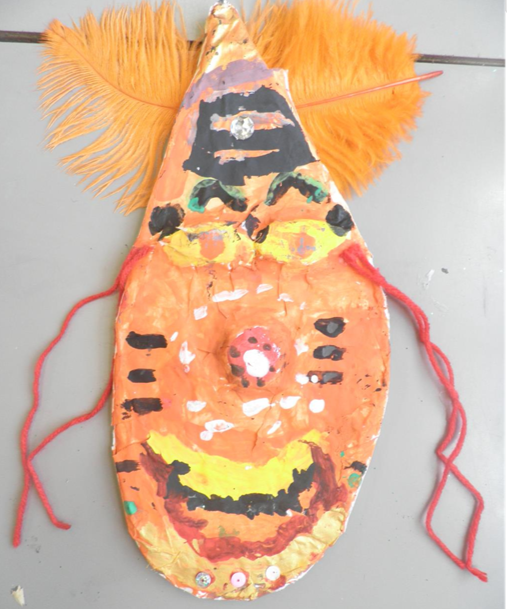
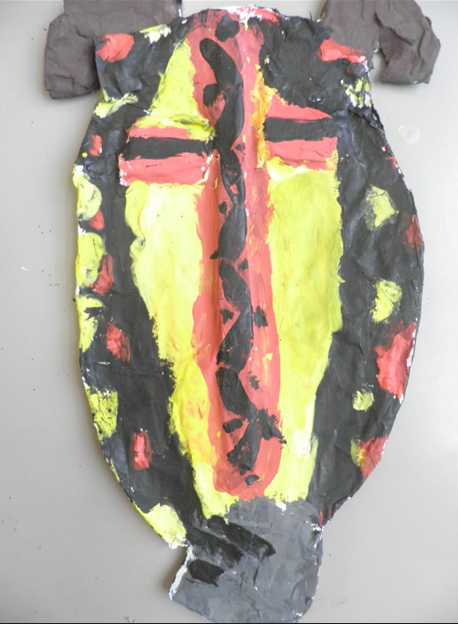
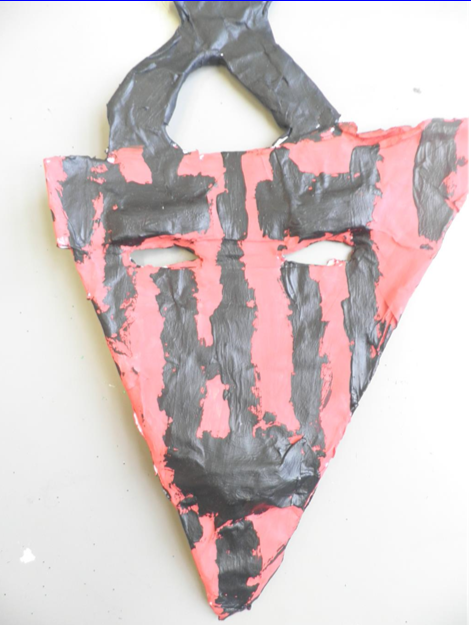
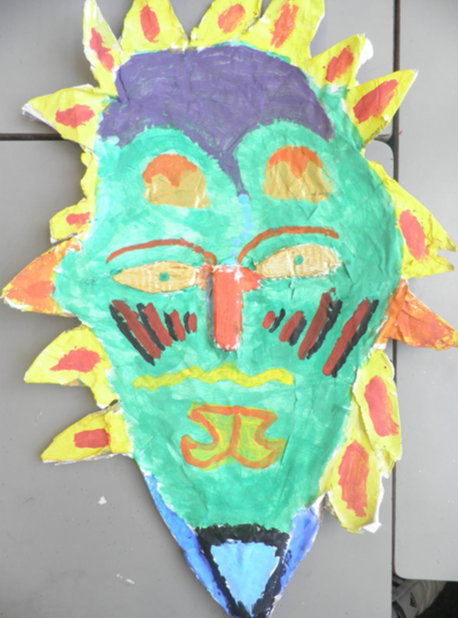
And here's the new Art Club display in one of the main hallways. I've sacrificed some space so unfortunately I can't squeeze as many pieces onto the board, but it looks much neater and with the hot-glued clothes pegs on, I can easily and quickly transfer new pieces of art without hassle.
So there you have it, that is my new classroom. I've put a lot of time into it and am very pleased with the final result. Let's hope the kids are, too...
DB.


